The Sendwithus translation feature provides an efficient way to manage localized content. This feature provides a workflow that allows you to update all localizations of your templates at the same time.
This guide will outline each step your team will have to make in order to use localizations.
1) Mark-up the templates you want to translate.
Wrap any strings that you want translated with {% trans %} and {% endtrans %} markers. These strings will be pulled out exactly as you mark them, so make sure they are correct.
<table style="margin: 0 auto;">
    <tr>
        <td style="font-size: 24px;">
            {% trans %}Your account settings have been updated.{% endtrans %}
        </td>
    </tr>
</table>Using variables in trans tags
Variable assignment and nested variables cannot be used in trans tags. Use Jinja’s set assignment before your translation tag to assign a top level variable to your nested variable.
{% set name = company.employee.firstName %}
{% trans %}Hi {{ name }}{% endtrans %}
For more information visit Jinja Variable Assignments.
2) Download the .pot file
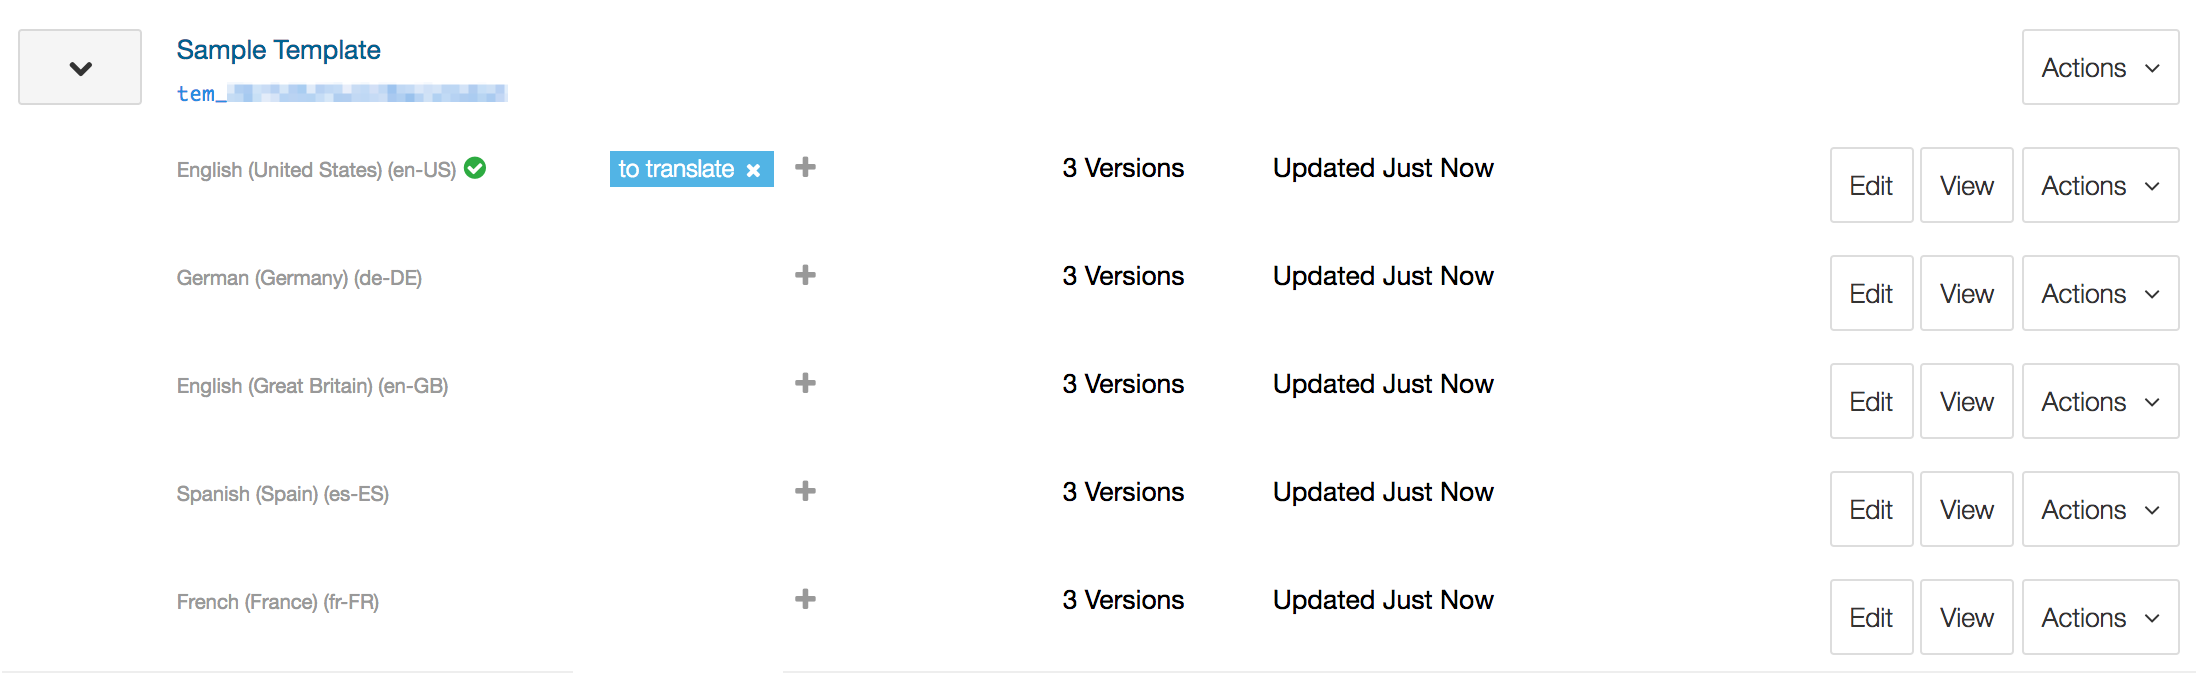
Assign a tag to the templates you have marked up with the “translate” markers. This can be done on the Templates page.

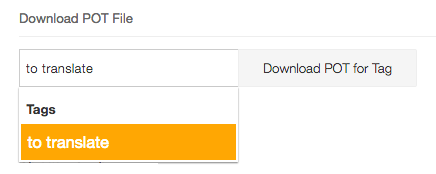
On the Manual Translations page, input the tag you assigned into the box and click Download POT for Tag. This will trigger the download of the POT file that contains all of the strings you will be translating.
3) Create your translated .po files
For each language you want to translate to, save a copy of the .pot file named after the appropriate language code, with a .po extension (“en-US.po”, “fr-FR.po” etc.).
~/Downloads/to_translate > ls
de-DE.po en-GB.po es-ES.po fr-FR.po
Fill out each of these .po files with the correct translations. Each “msgid” will be replaced with whatever you provide in the matching “msgstr” field.
msgid "Your account settings have been updated."
msgstr "<Translated Text Goes Here>"
4) Upload the zip file
When all of your .po files are completed, compress them into a .zip file with a name of your choosing. Then re-select tag chosen in step 1 from the PO box, and upload your zip file to generate your localized content.
5) Done!
A locale for each of your .po files will be created or updated automatically. Check out your template list to make sure things look as expected!
If you have any questions check our FAQ. We’re here to help! Feel free to send us a message at support@sendwithus.com.