Creating an API Key with SparkPost
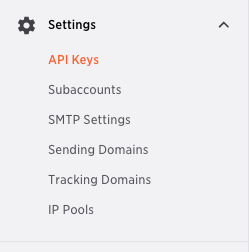
Sign into your SparkPost account and click on Settings dropdown on the sidebar. Select API Keys.

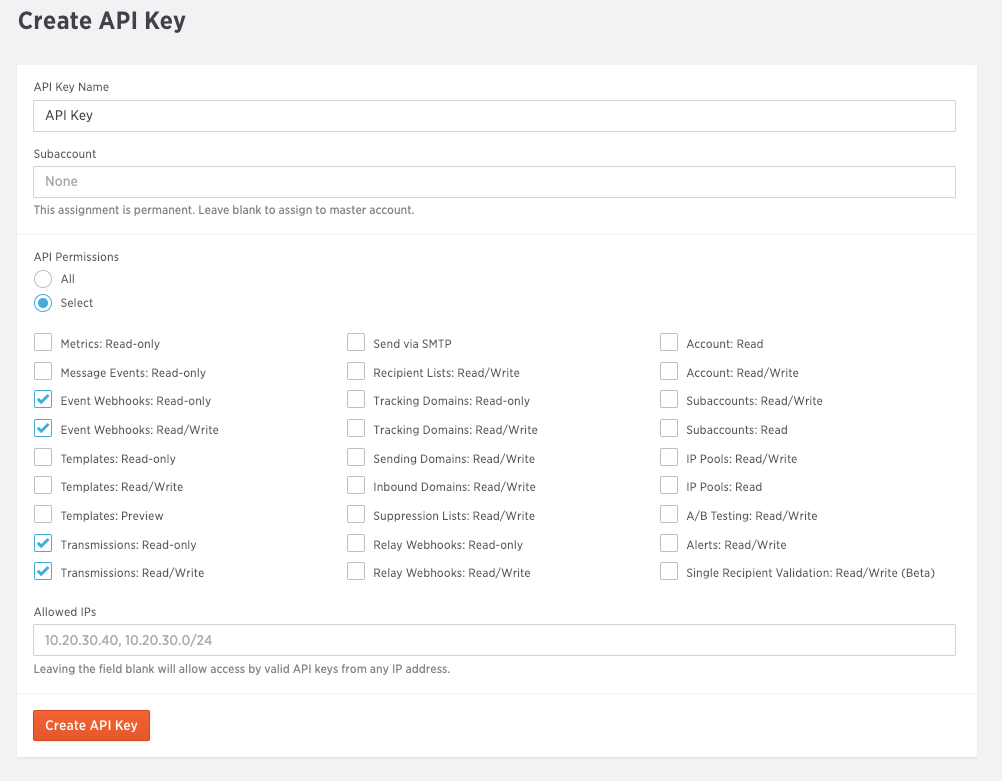
Create a API Key by selecting the Create API Key button.
Name the API Key and select the subaccount the API key will be attached to (optional, but recommended). Select the permission level for the API key by either allowing all permissions or selecting the minimum permissions required.
Leave the Allowed IPs field blank or Sendwithus won’t be able to deliver your emails. Click the Create API Key button to create your new API key.
Make sure to copy your API key as it will not be shown again!
Using SparkPost Subaccounts
If your team plans on integrating multiple SparkPost accounts with Sendwithus, we recommend only integrating subaccounts over a single master account and subaccount(s).
This is because the master account will relay all webhooks events from your SparkPost account which includes any webhook events that are sent from your subaccount. This effectively means if your team has both a master account and a subaccount, SparkPost will relay multiple webhooks depending on the number of subaccounts that are intergrated. This results in multiple events being displayed and counted in your Sendwithus analytics and email logs.
Since SparkPost subaccounts only relay webhooks from the specified subaccount, we recommend connecting with this type of account to allow for future flexability.
Connect with Sendwithus
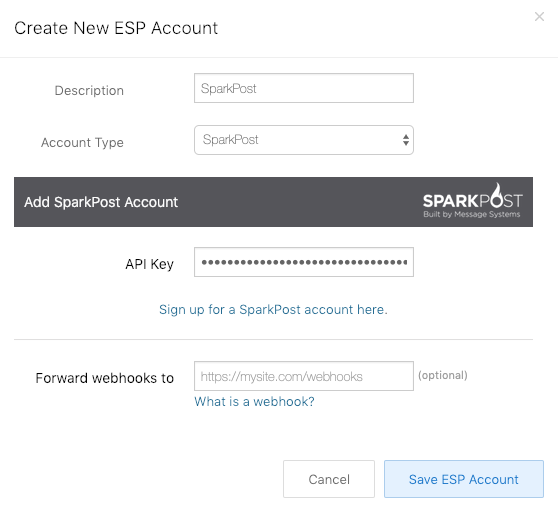
- Go to Delivery Settings in the Sendwithus dashboard, and click on the Add ESP Account button.
- Name the account and select SparkPost as the Account Type.
- Enter your API Key from your SparkPost account.
- Click the Save ESP Account and wait for verification.

Sending Domains
The sending domains have to be properly configured in order for emails to send out. Check out SparkPost’s help docs for setting up domains.
