Segment.com is an event aggregator. The idea is that you replace all of your internal hooks with segment calls, then flip a switch to send that data to your analytics program, customer relationship management (crm), help desk, etc. We make use of both Segment.com’s identify and track call.
- Turn on Sendwithus in Segment
- Create an API Key for Segment
- Create a Segment Integration ID
- Add a new Segment Trigger
Turn on Sendwithus in Segment

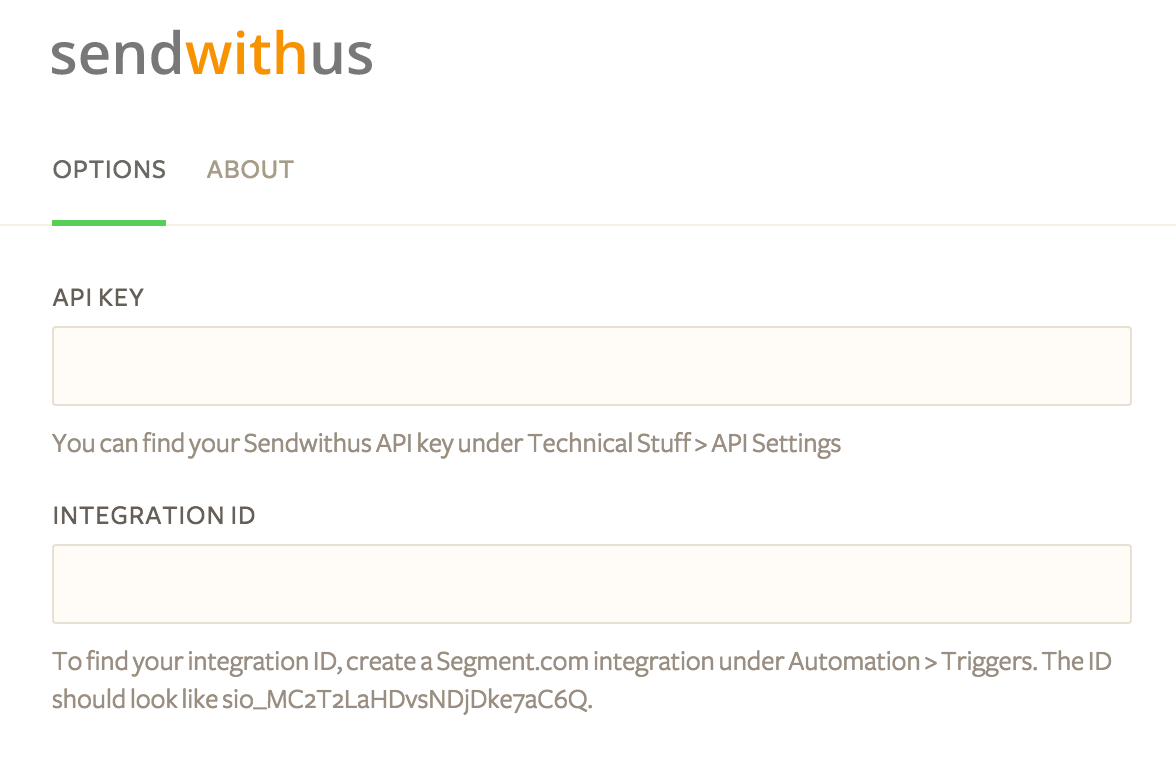
Ok there’s a bit of setup involved. But I promise it’s not that much. When you flip that switch, you will get a settings pane, asking you for an API key and an Integration ID.

Next, you will need to log in to the app to create these.
Create an API Key for Segment
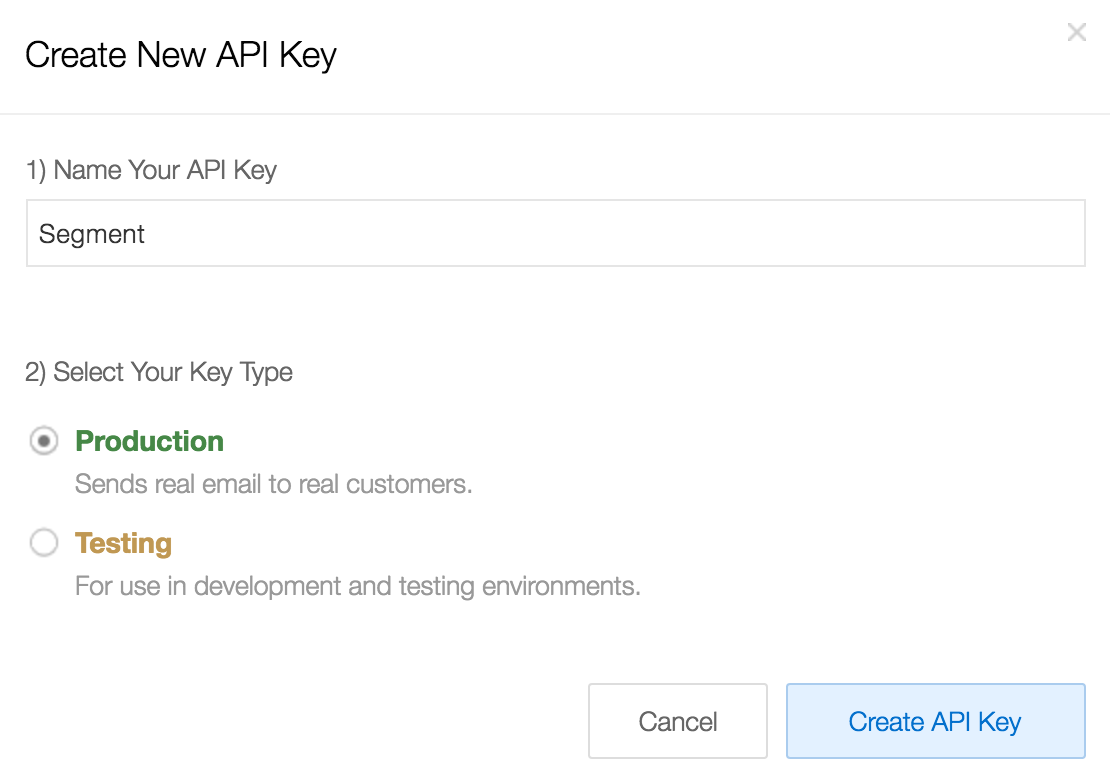
You will first need a new API key in Sendwithus. You can do this from the API Settings on the left side of your dashboard. Then, click on + Create New API Key and give it a name like “Segment” or “Segment Test” – a test key works in the same way as a production key, but will not affect logs or analytics.

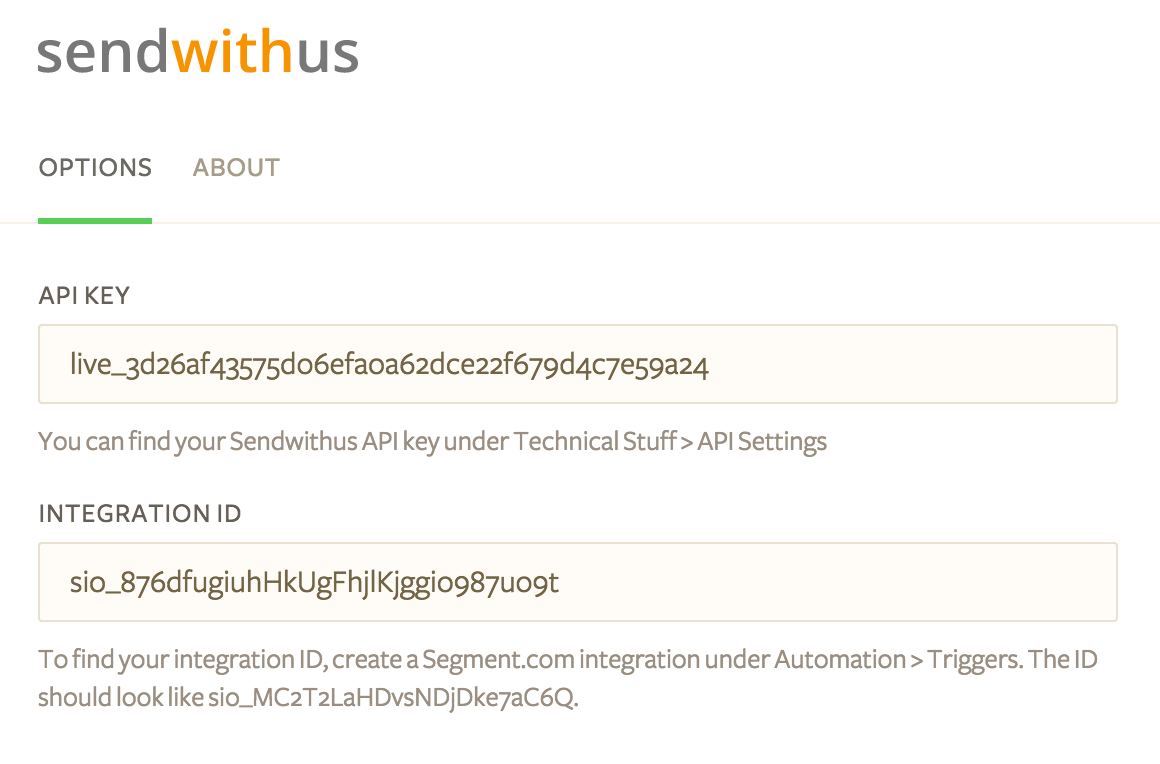
Then simply copy it to your clipboard with the highlighted purple button and paste it into the Segment window in the API Key field.

Create a new Segment Integration ID
Next, navigate to the Automation tab, and under Manage Integrations, select Segment.com.

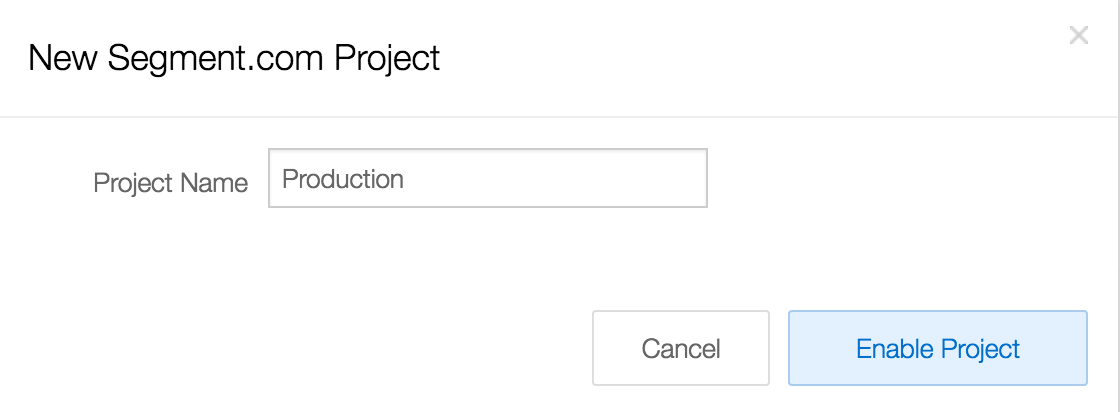
Here you will create a new project. Again, give it a nice, descriptive name and we’re good to go.

This will create the integration ID that you need to complete the integration setup.

You will get a warning that no events have been received on this key yet, we’ll get to that. For now just click the copy button and paste the new key into the Integration ID field in Segment.

Save it and you’re good to go!
Add a new Segment Trigger
To add a new Segment.com trigger, go to the Triggers tab and click on New Trigger then select Segment.com Track Event as the Event Source.

The drop-down menu will auto-populate with any events we’ve received so far, but if you know which event you want to use, you can type it in and it will work just the same. Just make sure you match it exactly, events are case sensitive.
From there, you just select which action you want to correspond to your chosen event, pick the appropriate template or drip campaign, and you’re all set.

The final product should look something like this:
