The first step to getting started in Sendwithus is to create an email template. This guide will give you a tour of the major features of the template editor and walk you through the process of creating an email template.
Creating a Template
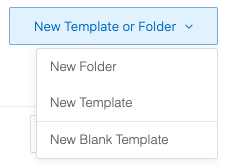
To create a new template, go to your templates page and choose New Template or Folder on the upper right. You can choose New Template to start with one of our open-source templates, or New Blank Template to start from scratch.
Subject and Preheader
The first two tabs on the left are to set the Subject and Preheader of your template. A subject is the title of your email that will show up when you send it. The preheader is the text that appears after your subject line in an email, which, if not specified in the template, is automatically pulled from the content of the email body. This is what your customer will see before they open the email. Customizing this can increase the open rate of the email by captivating your customer’s attention with an intriguing sentence or call to action.

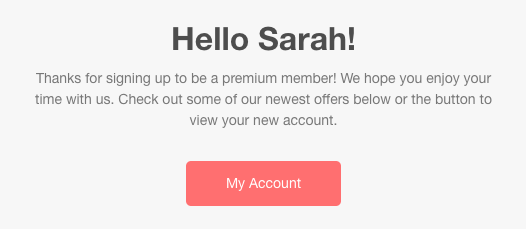
HTML
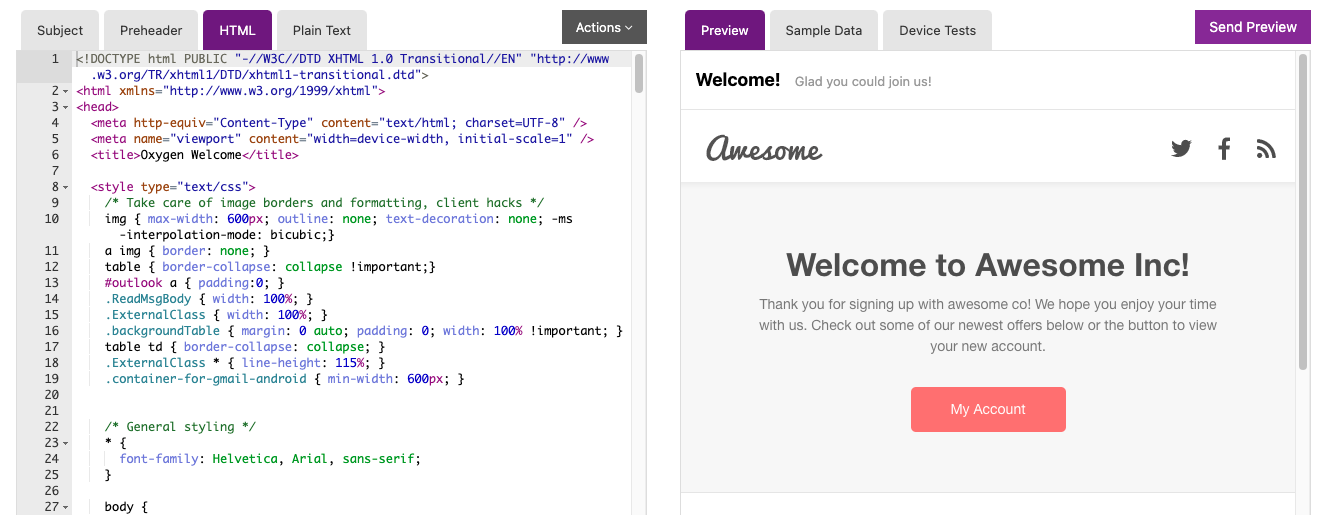
The HTML tab is where you can code your template using HTML, CSS, and Jinja. HTML provides the overall structure, CSS provides the styling and determines how your template looks, and Jinja is a templating language that allows you to customize your emails with user data. For more detailed information on building impactful emails that will work across all email clients, check out our Email Templating Guide. As you build, the “Preview” tab on the right side of the screen will automatically update to reflect your changes, letting you see your template in real-time.
Plain Text
It is generally good practice to include a plain text version. Plain text emails are more accessible and easier for users that require a screen reader, and many older email clients may not support HTML formatted messages. Additionally, most spam filters can detect if there is only an HTML version of the template, and this could have a negative impact on the spam rating.
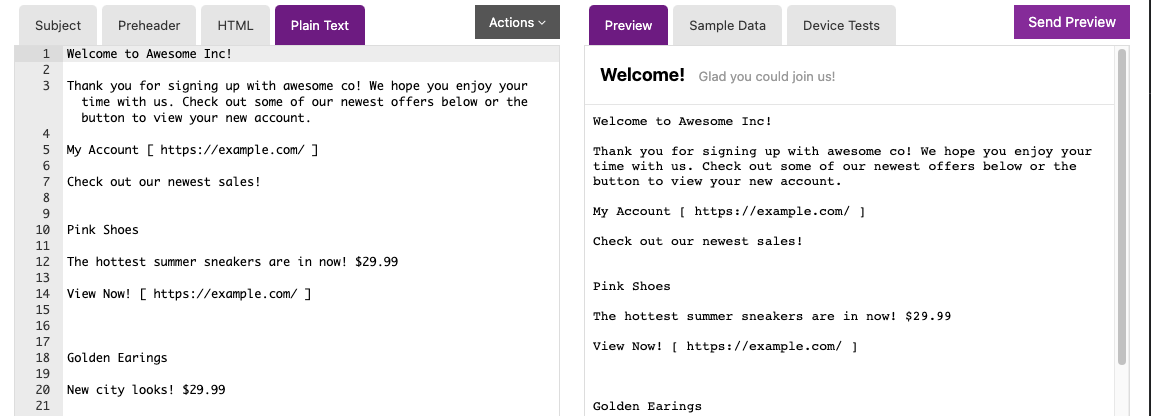
To create the plain text version of your email, click the Plain Text tab and write out the email content that should be shown to a recipient who is unable to view HTML — this version will be sent alongside the HTML version and used as a fallback when needed.
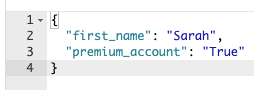
Sample Data
The Sample Data tab lets you test out dynamic content that will personalize your emails based on user data. You can store your sample user data in a JSON object to be called by Jinja variables in your template HTML. You can find more information and sample code in our Email Templating Guide.
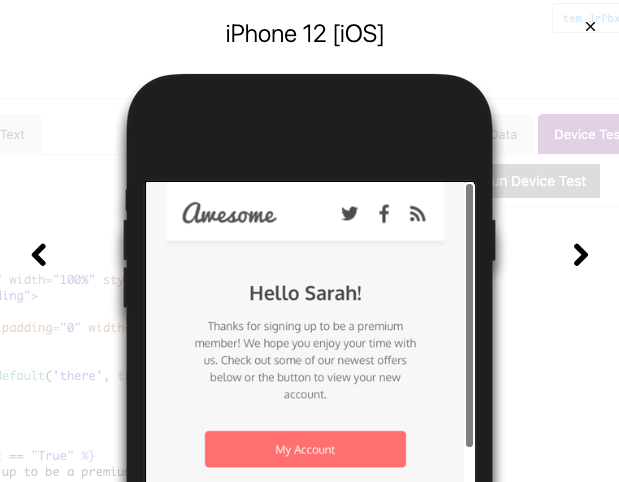
Device Tests
Device testing lets you make sure that your template will look great no matter what device or email client your customer uses. Select what devices you would like to test, then click Run Device Test to see screenshots of how your email looks in different environments. To learn more about how this feature works in Sendwithus, check out our article on How to Use Device Testing to Build Better Emails.
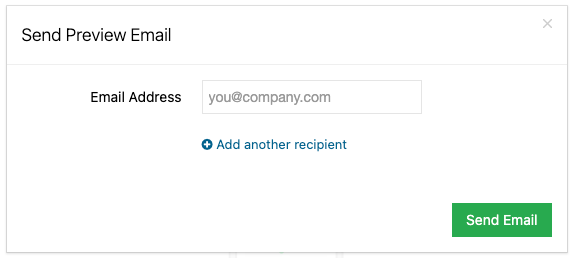
Send Preview
The Send Preview button allows you to send a preview email to an address of your choice, letting you view and interact with the email on your own devices.
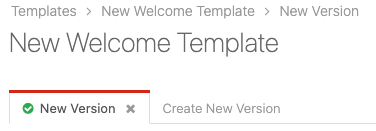
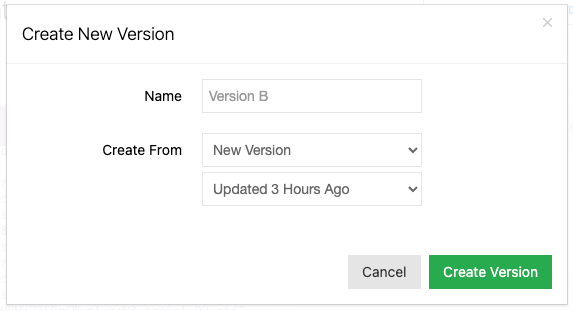
Create New Version
If you would like to create a new version of your email, either to iterate on your design or for A/B testing, select Create New Version. Here, you can name your new version and decide what existing version and timestamp you would like to use to create the new version. For more information on how you can make use of different versions, check out our article on Draft, Test, and Published Versions.
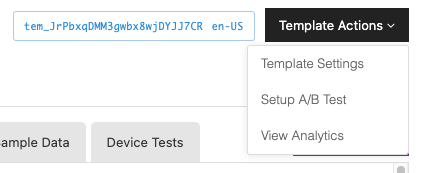
Template Actions
The Template Actions drop-down in the top right corner of the editor provides a few options of actions you may want to take with your new template:
- “Template Settings” will allow you to change the delivery settings for your template or set up UTM Parameters.
- “Setup A/B Test” lets you create an A/B test based on your current template versions.
- “View Analytics” shows you the analytics for this specific template. Check out this article in our Knowledge Base for more information on how Sendwithus builds your analytics.
Next Steps
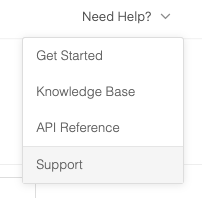
Now that you have a template built, here are some additional links that will help you take your next steps in Sendwithus. If you don’t see what you’re looking for here, you can search our Knowledge Base, or reach out to us directly through email or by clicking on the Need Help? dropdown and selecting Support from inside the app.